


Love buffalo wings? Get that same hot, zippy flavor in everything from deviled eggs to enchiladas. And of course: wings.
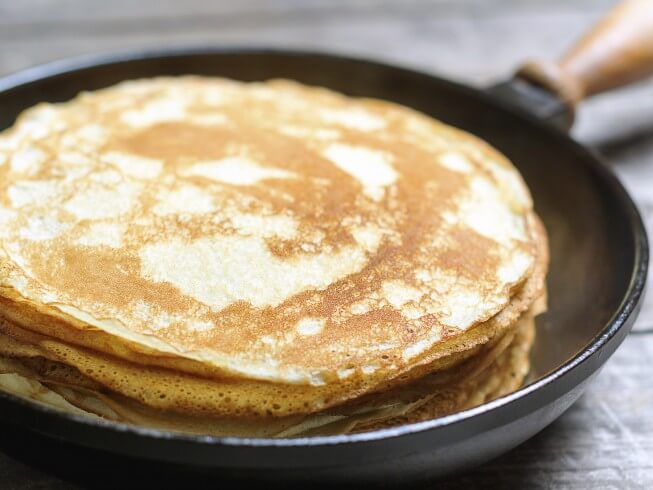
Classic crepes made with an easy blender-mixed batter
2 eggs
2 tablespoons melted butter, cooled
1 1/3 cup milk
1 cup all-purpose flour
1/2 teaspoon salt
Combine all the ingredients in a blender. Process until smooth, scraping down the sides of the blender as needed.
Heat a non-stick 8-inch skillet or crepe pan over medium heat. Add about 1/2 cup of the crepe batter to the pan, tilting the pan to coat the bottom.
Carefully flip the crepe over when the bottom is lightly browned.
When the other side of the crepe is browned, remove and stock the crepes with layers of waxed paper between them.
Serve warm.
Allow the batter to rest for at least 30 minutes before cooking for the best texture.
Use a ladle or measuring cup to pour the batter into the pan for consistent size.
Cook the crepes on medium heat to prevent them from burning.
If the first crepe doesn't turn out well, adjust the batter consistency or pan temperature.
Try different fillings to enjoy crepes as a meal or dessert.
Serve crepes rolled, folded, or stacked with your favorite toppings.
Remember, practice makes perfect with crepes. Don’t be discouraged if the first few don’t turn out perfectly.
Yes, you can make the batter ahead of time and store it in the refrigerator for up to 48 hours.
You can use almond milk, soy milk, or any other non-dairy milk as a substitute.
While a non-stick skillet is ideal for crepes, you can use a regular skillet, just make sure to grease it well to prevent sticking.
Yes, you can mix the batter by hand using a whisk, making sure all ingredients are well combined and the batter is smooth.
The batter should be quite thin, similar to heavy cream. If it's too thick, add a little more milk.
Yes, use a gluten-free flour blend in place of all-purpose flour.
Flip the crepe when the edges start to lift from the pan and the bottom is lightly browned.
Crepes can be filled with a variety of sweet or savory fillings, such as fruit, Nutella, jam, shredded cheese, diced ham, or spinach.
Store them in an airtight container in the refrigerator for up to 3 days or freeze them with wax paper between each crepe.
Yes, the recipe can be easily doubled or tripled for larger quantities.
Blender: For mixing the crepe batter until smooth and well combined.
Non-Stick Skillet or Crepe Pan: Used for cooking the crepes over medium heat. The non-stick surface prevents the crepes from sticking and allows for easy flipping.
Spatula: For flipping the crepes in the skillet to cook both sides evenly. A thin, flexible spatula works best for this task.
Waxed Paper: Used to separate the cooked crepes and prevent them from sticking together while stacked. The waxed paper also helps keep the crepes moist and pliable.
Measuring Cups and Spoons: For measuring the ingredients such as flour, milk, and salt.
Tablespoon or Ladle: Used to pour the batter into the skillet or crepe pan, making sure each crepe has an equal amount of batter.


Love buffalo wings? Get that same hot, zippy flavor in everything from deviled eggs to enchiladas. And of course: wings.

Pizza night is always a favorite, especially when you have great tasting pizza from some of the most popular restaurants.
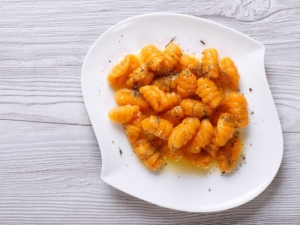
Pumpkins aren't just for pies or Halloween decorations. These large, orange gourds - while naturally sweet - also work well in savory dishes. They pair well with poultry and pork (and especially bacon) and their creamy-when-cooked texture blends easily into soups.


reviews & comments