cdkitchen > feeddaily blog

Hummus And Pita Chips
by Guest Writer, Valerie Whitmore It must be close to 20 years ago now since Brent first introduced me to hummus. He used to get it at a co-op near where he worked as a student on the University of Minnesota campus. He used to eat it with pita wedges as his dinner on the evenings he worked.
I don't remember the exact occasion that he brought some home, or what my initial response was, but I can tell you this: I was hooked.
Hummus has become hugely popular in the US over the last several years (and I doubt my increased consumption has anything to do with it). You find it on restaurant menus and pre-made in grocery stores. In fact, the grocery store selection has become quite impressive, offering a wide variety of flavors.
Your basic hummus recipe is made with garbanzo beans (chickpeas - same thing), tahini (a paste made from sesame seeds), olive oil, and lemon juice. The mixture is pureed until smooth and often topped with an extra drizzle of olive oil. You can use bread (like pita) or veggies as dippers. It's even good as a sandwich spread.
What I love about hummus is that you have so many options when it comes to flavoring it. Basic hummus is very tasty, don't get me wrong, but being able to jazz it up with black olives, sun-dried tomatoes, or roasted peppers makes for some delicious snack options.
If you remember from my overabundance post, I have a plethora of roasted red peppers to use up. As luck would have it, I also had a can of garbanzo beans. And, I had hummus on my mind.
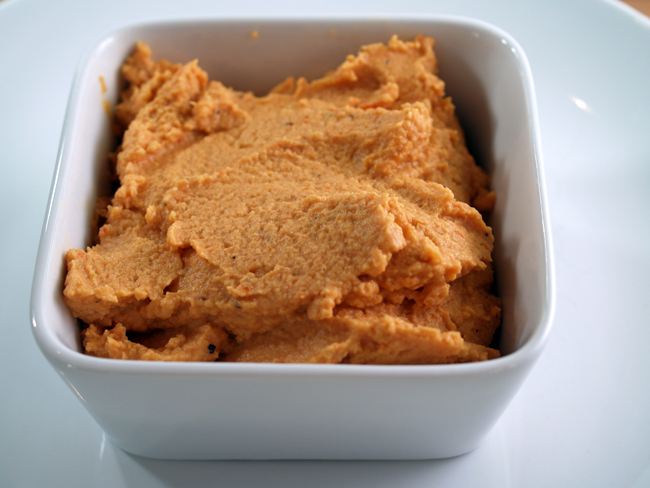
The roasted red pepper hummus recipe I chose was a basic one. It was easy to prepare and I had all the ingredients on hand. A quick whir in the food processor and an hour in the fridge - our snack was ready.
As I mentioned earlier, you can use a variety of dippers with hummus. However, I'm partial to pita bread. I love the texture of it - it's one of my favorite types of flat bread. Now, you could just serve the hummus with plain pita bread cut into wedges but I wanted to dress things up a bit with some flavor varieties.
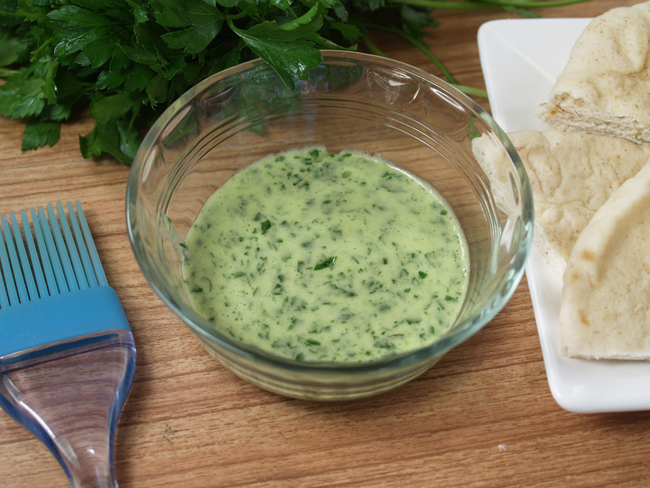
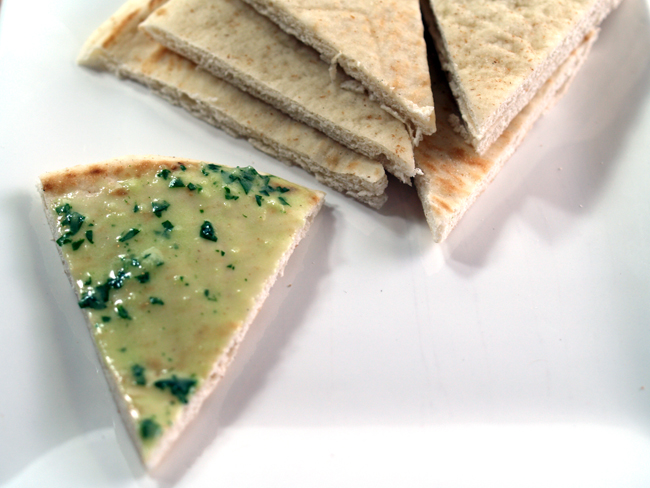
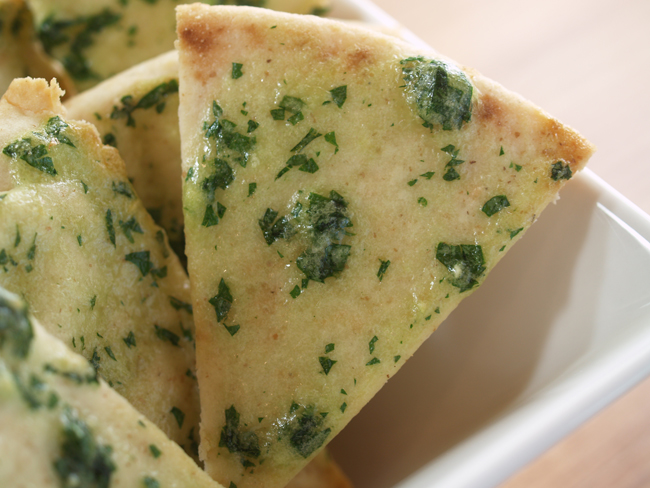
The first batch of chips I did was simply titled Baked Pita Crisps. Pita quarters are brushed with a parsley-oil-egg white-garlic mixture and baked until crisp.
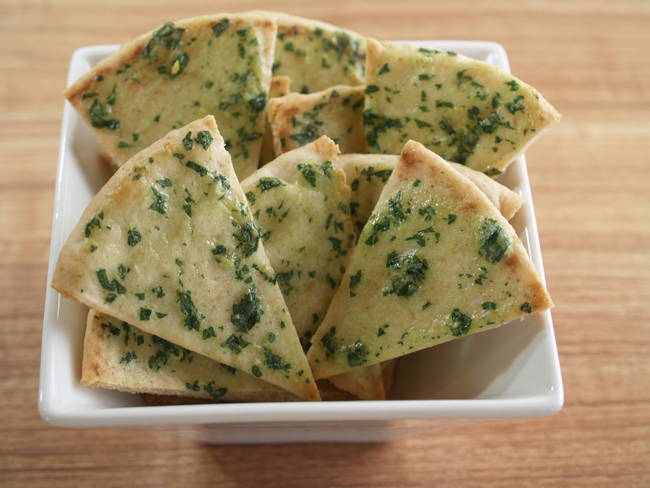
The recipe says to bake them in the oven for 10-15 minutes at 300 degrees F until toasted. After 15 minutes they weren't very toasty. Since I had another batch of chips to bake which required a hotter oven, I left the parsley ones in while I preheated the oven to the higher temperature. By the time the oven got to 425 degrees F, the parsley chips were lightly crisp and delicious.
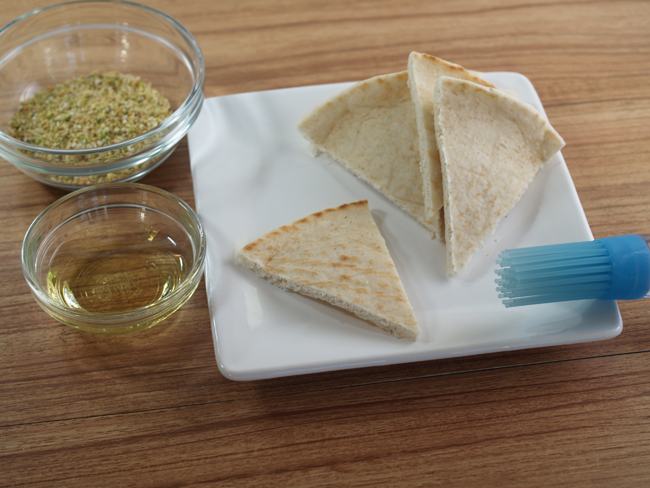
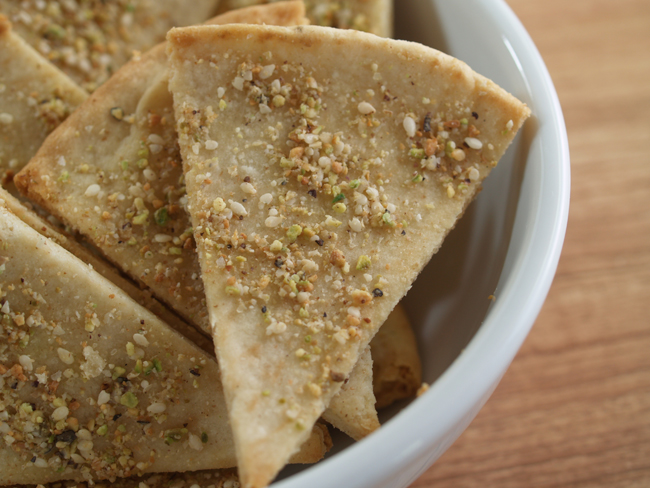
The second recipe I selected was for Pistachio Pita Wedges. Pistachios were ground with sesame seeds and garlic salt and pressed onto the olive-oil brushed pita wedges.
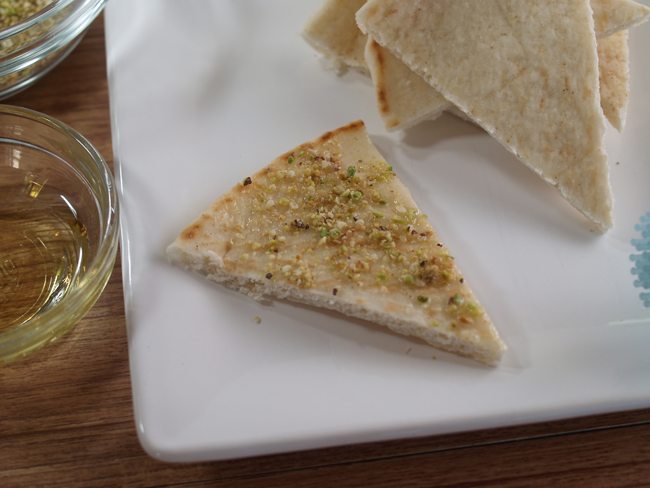
They baked up nicely in the time stated in the recipe
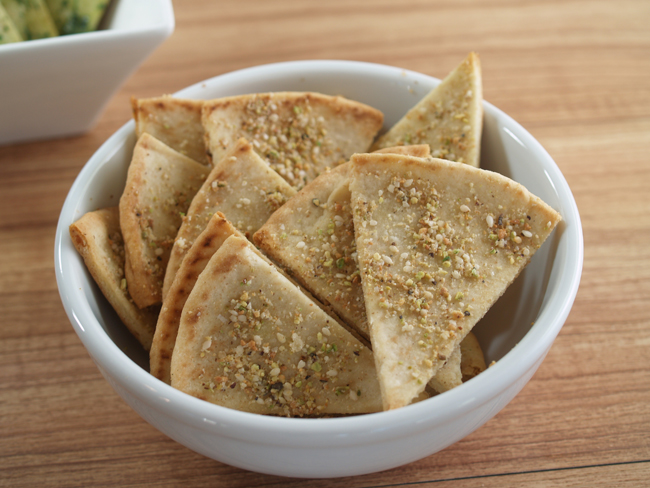
Put it all together and you have:
I loved both the pita chip recipes. Maybe the pistachio one stood out a little more, but I think that's because the texture was unique. The hummus was very good. I did goof a little and put in more garlic than called for (that's what happens when I am making too many recipes at once). It still tasted great but just had a little overpowering garlic flavor to it. We still managed to eat it all. And lick the bowl. Well, ok, I licked the bowl when no one was looking.
I don't remember the exact occasion that he brought some home, or what my initial response was, but I can tell you this: I was hooked.
Hummus has become hugely popular in the US over the last several years (and I doubt my increased consumption has anything to do with it). You find it on restaurant menus and pre-made in grocery stores. In fact, the grocery store selection has become quite impressive, offering a wide variety of flavors.
Your basic hummus recipe is made with garbanzo beans (chickpeas - same thing), tahini (a paste made from sesame seeds), olive oil, and lemon juice. The mixture is pureed until smooth and often topped with an extra drizzle of olive oil. You can use bread (like pita) or veggies as dippers. It's even good as a sandwich spread.
What I love about hummus is that you have so many options when it comes to flavoring it. Basic hummus is very tasty, don't get me wrong, but being able to jazz it up with black olives, sun-dried tomatoes, or roasted peppers makes for some delicious snack options.
If you remember from my overabundance post, I have a plethora of roasted red peppers to use up. As luck would have it, I also had a can of garbanzo beans. And, I had hummus on my mind.
The roasted red pepper hummus recipe I chose was a basic one. It was easy to prepare and I had all the ingredients on hand. A quick whir in the food processor and an hour in the fridge - our snack was ready.
As I mentioned earlier, you can use a variety of dippers with hummus. However, I'm partial to pita bread. I love the texture of it - it's one of my favorite types of flat bread. Now, you could just serve the hummus with plain pita bread cut into wedges but I wanted to dress things up a bit with some flavor varieties.
The first batch of chips I did was simply titled Baked Pita Crisps. Pita quarters are brushed with a parsley-oil-egg white-garlic mixture and baked until crisp.
The recipe says to bake them in the oven for 10-15 minutes at 300 degrees F until toasted. After 15 minutes they weren't very toasty. Since I had another batch of chips to bake which required a hotter oven, I left the parsley ones in while I preheated the oven to the higher temperature. By the time the oven got to 425 degrees F, the parsley chips were lightly crisp and delicious.
The second recipe I selected was for Pistachio Pita Wedges. Pistachios were ground with sesame seeds and garlic salt and pressed onto the olive-oil brushed pita wedges.
They baked up nicely in the time stated in the recipe
Put it all together and you have:
I loved both the pita chip recipes. Maybe the pistachio one stood out a little more, but I think that's because the texture was unique. The hummus was very good. I did goof a little and put in more garlic than called for (that's what happens when I am making too many recipes at once). It still tasted great but just had a little overpowering garlic flavor to it. We still managed to eat it all. And lick the bowl. Well, ok, I licked the bowl when no one was looking.