Canning And Preserving

Canning is a great way to preserve vegetables and fruits for your own use or for gifts. The basic principle is simple: during the canning process, food is heated to a high enough temperature to stop the decaying action of enzymes and/or bacteria and other microorganisms in the food. The food is then stored in sterile, airtight containers to prevent contamination.
This isn't a process you should treat carelessly. Contaminated food can cause illness, and botulism isn't something you want to mess with. Always remember these things:
Choose only perfect produce. Overripe or damaged fruits and vegetables are more prone to spoilage.
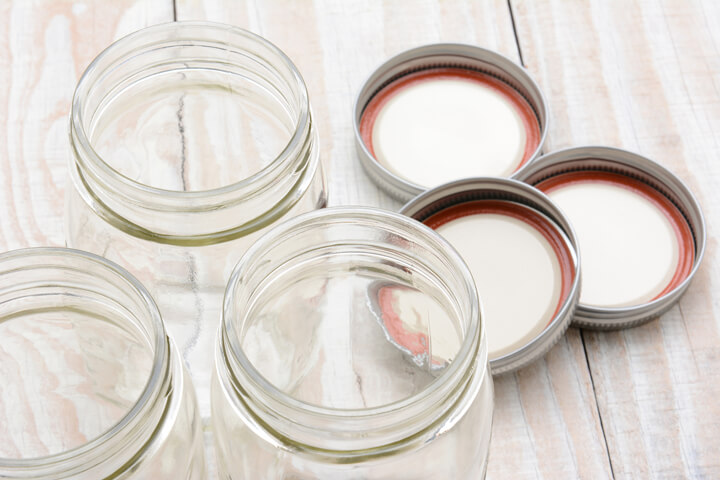
Your jars, lids and sealing rings should be in good condition and sterile (washed and scalded).
Wash your produce thoroughly before processing.
Know your produce. Be sure to use the correct time, temperature and method of processing for the food you will be canning. Methods are described below.
After canning, check the seal on every jar to make sure they are air tight - when you push down on a self-sealing lid, it should stay down. Test porcelain lids by turning the jars upside down. If you see a stream of tiny air bubbles, the seal is not air tight.
Don't use foods from any jar that has a foamy or discolored appearance. Watch for bulging or misshapen lids and leaking rims. Throw those jars away.
Home canned vegetables should be boiled before they are served (with the exception of tomatoes).
Generally canning with glass jars is best, simply because you can see the produce. It's easy to check for damage, leaking, and discoloration. Glass jars are also cheaper, easier to use, and you can reuse them over and over again! Tin cans may not break like a glass jar, but if you use tin cans for canning, you'll need to buy a sealing device.
Glass jars commonly used today have either a porcelain-lined cap, which consists of a screw top and rubber ring, or a self-sealing cap, which consists of a flat lid with sealant around the rim and a screw-on band that holds the lid against the lip of the jar. The band can be reused, but you should use a new lid for each process. Old-fashioned clamp-type jars can still be found, but do not use decorative replicas for canning. With this type, the glass lid and rubber ring are held in place with a long clamp during processing, and then a short clamp is snapped down for a tight seal.
Wash all produce prior to packing into containers. Vegetables and large fruits can be cut into pieces and pitted if necessary. Smaller fruits such as berries can be left whole. Fruits can be dipped in asorbic acid (vitamin C) and packed in sugar syrup to preserve their color, texture and flavor.
There are two ways to pack the produce into the jars before processing: raw or cooked.
Raw Packed: Pack clean produce tightly into containers and pour on boiling juice, water or syrup. Wipe the rim and sealing ring to remove any food particles, then close the jar and proceed with the canning process.
Hot Packed: Steam or heat vegetables or fruits to boiling in juice, water or syrup, then immediately pack them into the jars.
If you are using a porcelain-lined cap jar, wet the rubber ring and fit it against the top/shoulder of the jar. Screw the cap on firmly, then back off one quarter turn. After processing, immediately screw the cap tightly again.
If you are using a self-sealing cap jar, tighten band before processing and don't loosen it again.
�There are two methods of canning fruits and vegetables: boiling water bath or pressure canning. Low acid vegetables (everything except tomatoes) can harbor heat-resistant bacteria, and should be heated to at least 240�F - a temperature that can only be produced by pressure canning. High acid food, which includes tomatoes, pickled vegetables and most fruits, can be processed at boiling water temperature (212�F).
Boiling Water Bath:
You will need:
Boiling water bath canner. This is basically a large, deep pan with a tight fitting lid. It should be large enough to allow 4 or more inches of "headroom" above the jars.
Wire basket or rack to fit inside the pan and hold your jars.
Tongs to lift jars out of boiling water.
Oven mitts to handle hot jars.
Cooling rack, or several towels.
Kitchen timer.
First: Fill canner halfway with hot water and put the jars into it, either inside the basket, or setting on a rack on the bottom of the pan. Add boiling water to 2 inches above the jars. Be careful not to pour boiling water directly onto the jars.
Second: Cover canner tightly and bring water to a rolling boil. Start the timer (use this chart to determine boiling time) and reduce heat just enough to maintain a rapid boil. Add boiling water throughout if needed.
Third: When time is up, remove jars immediately with the tongs. If necessary, tighten the lids. Set the jars on a cooling rack or layer of towels to cool. Leave space between cooling jars.
After canning, label the jars with their contents and the date they were canned. Store jars in a cool, dark place. Light can cause discoloration and loss of nutrients.
| Fruit/Vegetable | Method | Time for pints | Time for Quarts |
| Apples | Boiling water bath | 15 min hot packed | 20 min hot packed |
| Apricots | Boiling water bath | 20 min hot packed 25 min raw packed | 25 min hot packed 30 min raw packed |
| Asparagus | Pressure canning | 25 min | 30 min |
| Beets | Pressure canning | 30 min | 35 min |
| Berries | Boiling water bath | 10 min hot or raw packed | 15 min hot or raw packed |
| Carrots | Pressure canning | 25 min | 30 min |
| Cherries | Boiling water bath | 10 min hot packed 20 min raw packed | 15 min hot packed 25 min raw packed |
| Corn | Pressure canning | 55 min | 55 min |
| Peaches | Boiling water bath | 20 min hot packed 25 min raw packed | 25 min hot packed 30 min raw packed |
| Pears | Boiling water bath | 20 min hot packed 25 min raw packed | 25 min hot packed 30 min raw packed |
| Plums | Boiling water bath | 20 min hot or raw packed | 25 min hot or raw packed |
| Potatoes | Pressure canning | 35 min | 40 min |
| Pumpkin | Pressure canning | 55 min | 90 min |
| Rhubarb | Boiling water bath | 10 min hot packed | 10 min hot packed |
| Snap Beans | Pressure canning | 20 min | 25 min |
| Squash | Pressure canning | 55 min | 90 min |
| Tomatoes | Boiling water bath | 35 min hot packed 40 min raw packed | 45 min hot packed 50 min raw packed |
| From Back to Basics, Reader's Digest, 1981 | |||
Recipes To Try
Ready to try your hand at canning?
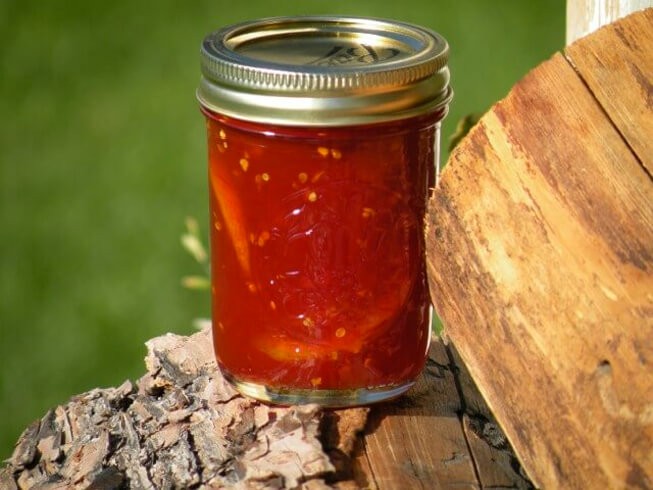

Use this jam as a spread on sandwiches, mix it with cream cheese for a dip, or thin it with a little wine and use as a sauce or glaze on chicken or fish.

This sweet marmalade made from fresh pineapple and flavored with a hint of zesty lemon makes a delicious spread.
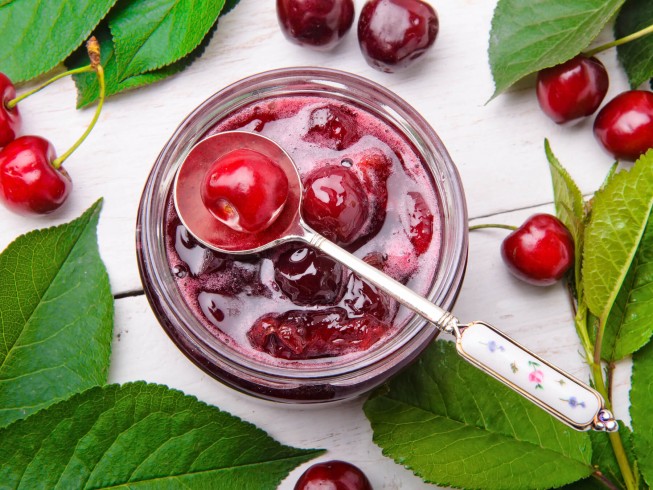
This cherry jam can go either way: sweet or sour! Step up the sugar to fruit ratio for a sweet jam that's perfect on baked goods.


A classic southern recipe (and a great way to use up watermelon rinds). A simple simmer in a sugar mixture creates tender preserves that can be used in a variety of ways.


